| Fixes
|
| Make sure you flybar moves freely.
|
| Make sure the flybar is not too loose.
|
| Make sure your flybar is not bent or unbalanced.
|
| Make sure the collar under the swashplate is all the way down and tight.
|
| If you have a 2 piece flybar hub, make sure its not partly separated.
|
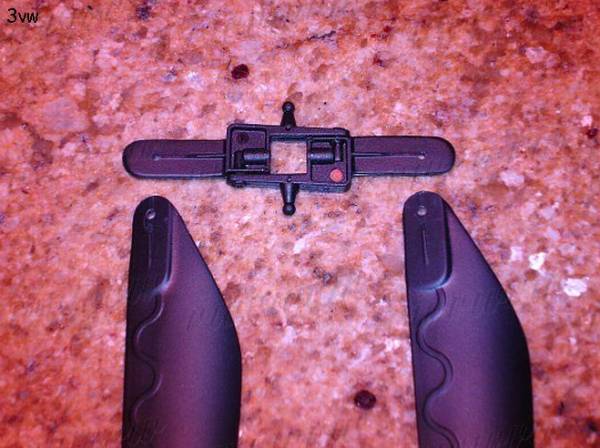
| Make sure one of the blade pins (the pins that stick out of the upper and lower hubs) isnt broken. Sometimes they can break and you might not even notic it!
|
| Look closely at the upper bearing holder, the one between the two sets of blades, sometimes the plastic cup that holds the bearing goes out of round. If this is the case, you need to replace it, there are aluminum parts available to replace this part.
|
| If all else fails, try replacing your blades one by one.
|

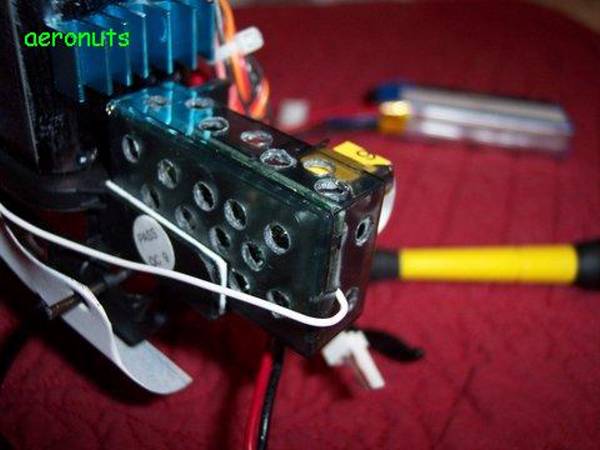
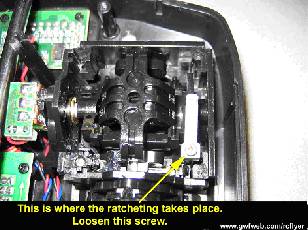
 provided by Aeronuts @ RCGroups
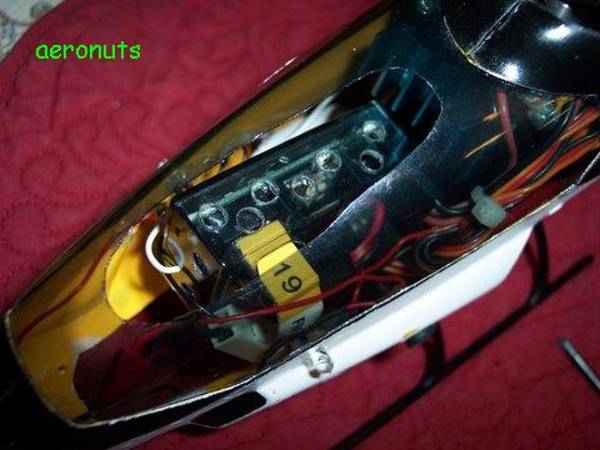
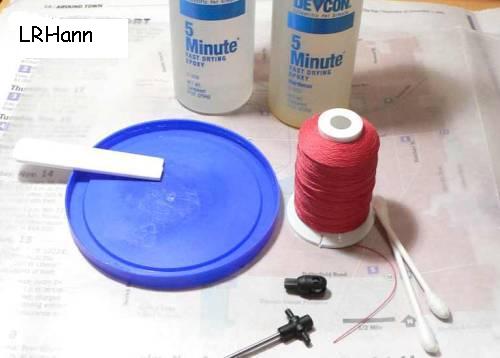
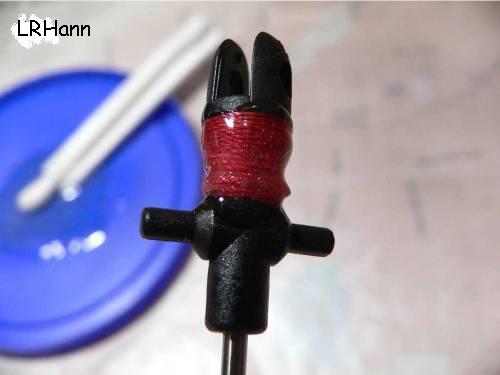
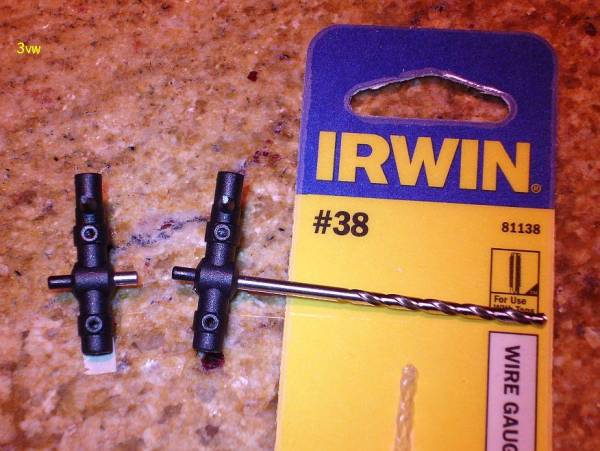
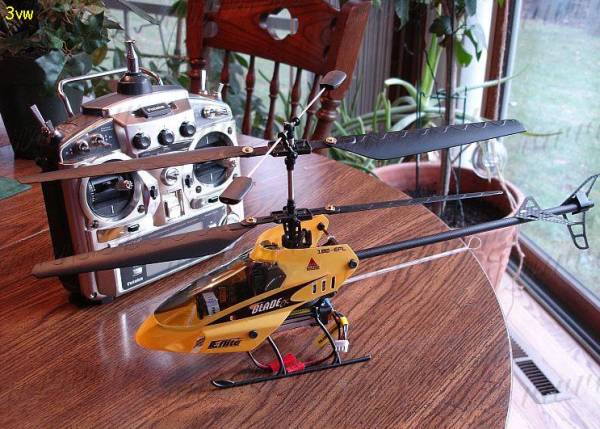
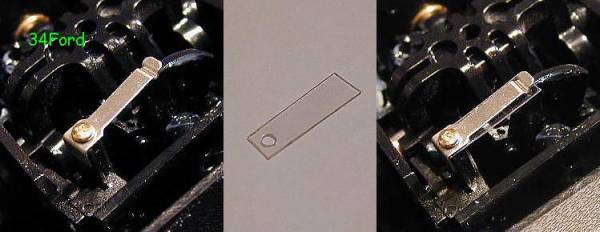
 By 3vw @ RCGrouops
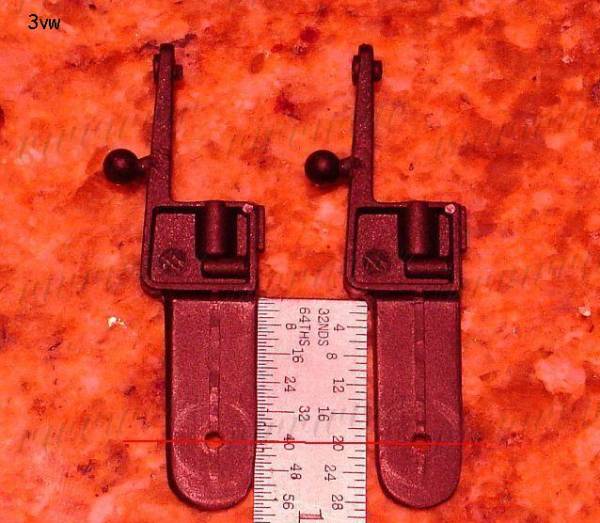
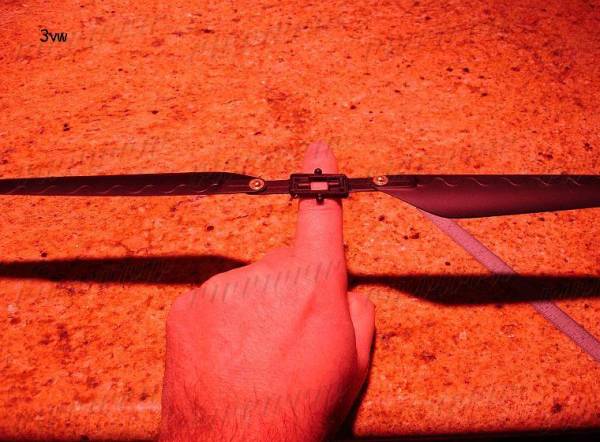
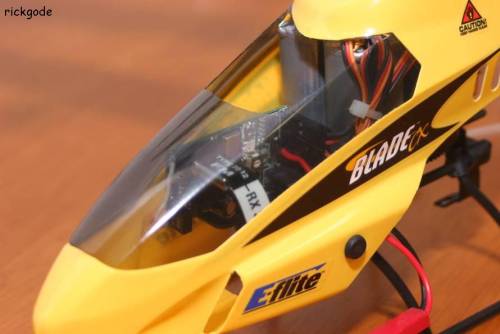
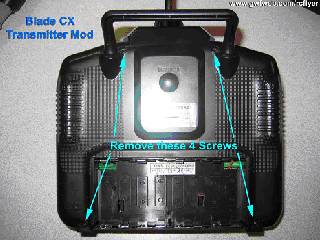
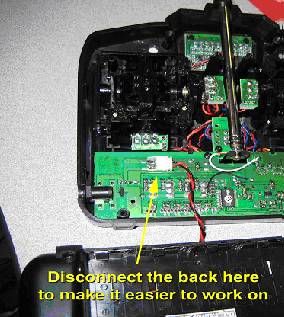
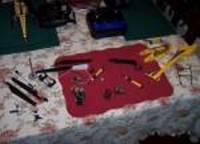
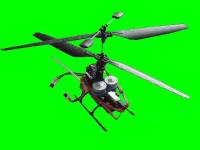 Built by copperclad @ RCGroups